Building a Secret Wooden Magic Box: DIY Tips for Conjuring Up Some Fun
Hey there, aspiring magicians and DIY enthusiasts! Want to add a touch of mystery and wonder to your life? Well, look no further than building your own secret wooden magic box. It's a project that's both fun and rewarding, and the end result is a magical piece that can hold your secrets, store your favorite trinkets, or even become a stage prop for your next illusion.Choosing Your Materials: The Foundation of Magic
The first step in building your magic box is choosing the right materials. You'll need some basic woodworking tools and supplies, which you can find at any hardware store.
Wood
The type of wood you use will depend on your desired look and budget. Pine is a good, affordable choice, while hardwoods like oak or cherry offer greater durability and a more luxurious feel. Consider these factors when choosing your wood:
- Strength: If your box needs to hold heavy objects, a strong wood like oak or maple is recommended.
- Workability: Softwoods like pine are easier to work with for beginners, while hardwoods require more skill and experience.
- Aesthetics: Think about the final look you want. Darker woods like walnut will give a more elegant feel, while lighter woods like maple or birch create a more rustic appearance.
Tools
For this project, you'll need the following tools:
- Saw: A circular saw, jigsaw, or handsaw for cutting the wood.
- Sandpaper: Different grits for smoothing the wood.
- Drill: For making holes and attaching hardware.
- Clamps: To hold pieces of wood together while gluing or screwing them.
- Measuring tape: For precise measurements.
- Pencil: To mark the wood for cutting and drilling.
- Screwdriver: To secure the box together.
- Wood glue: To bond the wood pieces together.
Building the Box: A Step-by-Step Guide
Now, let's get into the actual construction. Follow these steps to build your magic box:
Step 1: Design Your Box
Start by sketching out your box design. Consider the size, shape, and any special features you want to include. A simple box with a secret compartment is a good place to start. You can also add decorative elements like carvings, inlays, or painted designs to personalize your box.
Step 2: Cut the Wood
Once you have your design, use a saw to cut the wood to the desired dimensions. Remember to factor in the thickness of the wood when calculating the size of the panels. Make sure your cuts are accurate, as any inconsistencies will show in the final product.
Step 3: Assemble the Box
Now, it's time to assemble your box. Use wood glue and clamps to attach the sides, bottom, and lid together. Be sure to apply even pressure to ensure a strong bond. You can also use screws or nails to reinforce the corners and create a more durable box.
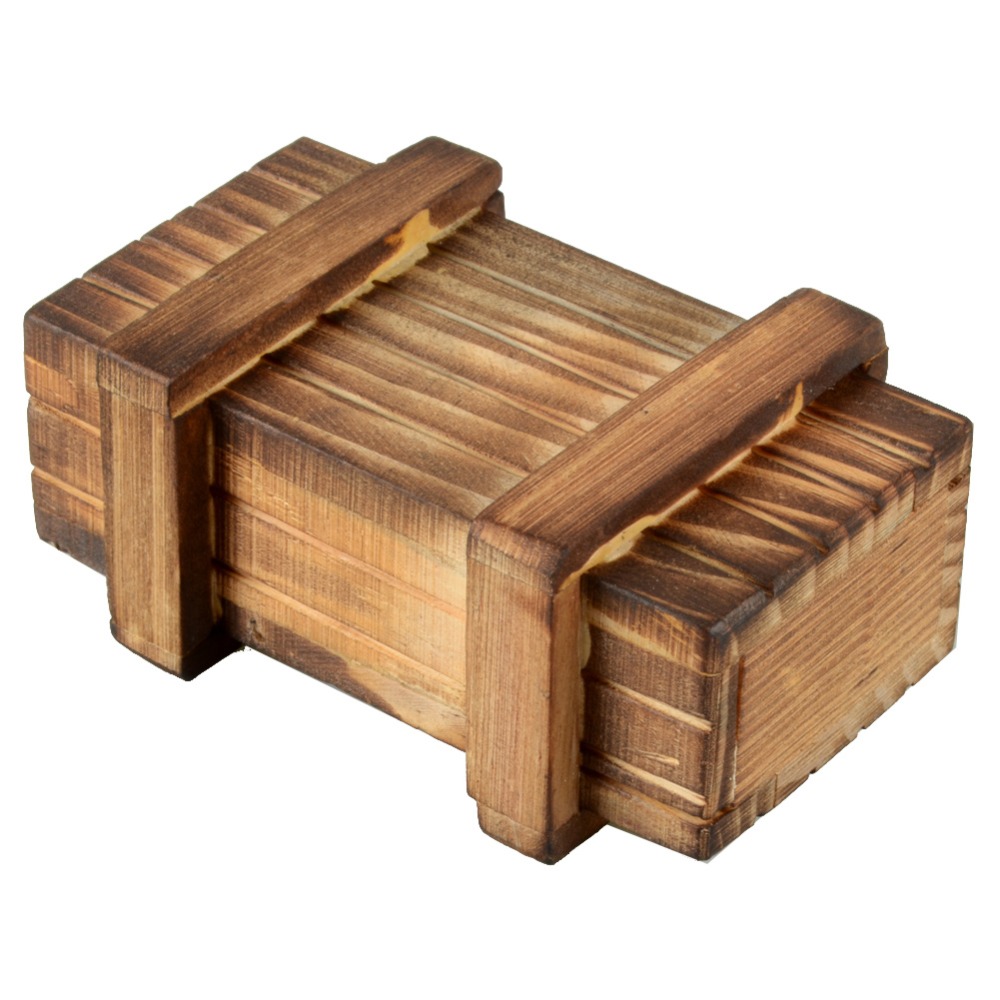
Step 4: Create the Secret Compartment
This is the exciting part! To create your secret compartment, you have several options:
- False Bottom: A false bottom can be hidden underneath the main compartment, accessible through a small hidden latch or a sliding panel.
- Sliding Panel: A panel that slides along a groove, revealing a hidden compartment behind it.
- Hidden Door: A small door that is cleverly disguised within the box's design, like a section of the lid that hinges open.
Remember to measure carefully and plan the placement of your secret compartment so that it's easily accessible but not immediately obvious.
Step 5: Finishing Touches
After your box is assembled, smooth out any rough edges and sand the wood until it's smooth to the touch. You can then stain, paint, or varnish the box to give it a unique look. Don't forget to add any additional details like hinges, latches, or decorative elements to complete your design.
Adding the Secret Element: The Magic Touch
Now for the fun part: incorporating the secret mechanism that will unlock your hidden compartment. This can be a simple magnetic latch or a more elaborate mechanism like a combination lock.
Simple Magnetic Latch
A magnetic latch is the easiest option. Simply install a small magnet on the hidden compartment and a corresponding metal plate on the main compartment. When the two pieces are aligned, the magnet holds the compartment in place. To open it, simply push the metal plate aside or use a small tool to release the magnet.
Combination Lock
For a more secure and intriguing secret compartment, you can use a combination lock. Choose a lock that's small enough to fit inside the box and secure it to the hidden compartment door. You can even create a fake latch or handle that distracts from the real lock.
Custom Mechanisms
If you're feeling adventurous, you can design your own secret mechanism. This could involve a hidden lever, a pressure-sensitive trigger, or a series of moving parts that need to be manipulated in a specific order to unlock the compartment.
Tips for Success
Here are some extra tips to help you make your magic box a success:
- Practice your woodworking skills: If you're new to woodworking, start with simpler projects to get comfortable with the tools and techniques.
- Plan ahead: Carefully plan your design and measurements before you start cutting wood.
- Use high-quality materials: This will ensure your box is durable and long-lasting.
- Take your time: Don't rush the process. Pay attention to detail and you'll have a beautiful and functional magic box.
- Have fun!: The most important part is to enjoy the process and let your creativity guide you.
Building a secret wooden magic box is a rewarding project that can spark your imagination and bring a touch of magic to your life. So, gather your tools, choose your materials, and start creating your very own secret compartment that will hold your treasures or unveil your next illusion. Happy building!
0 comments:
Post a Comment
Note: Only a member of this blog may post a comment.